How To Adjust The Stroke Of Pneumatic Actuator?
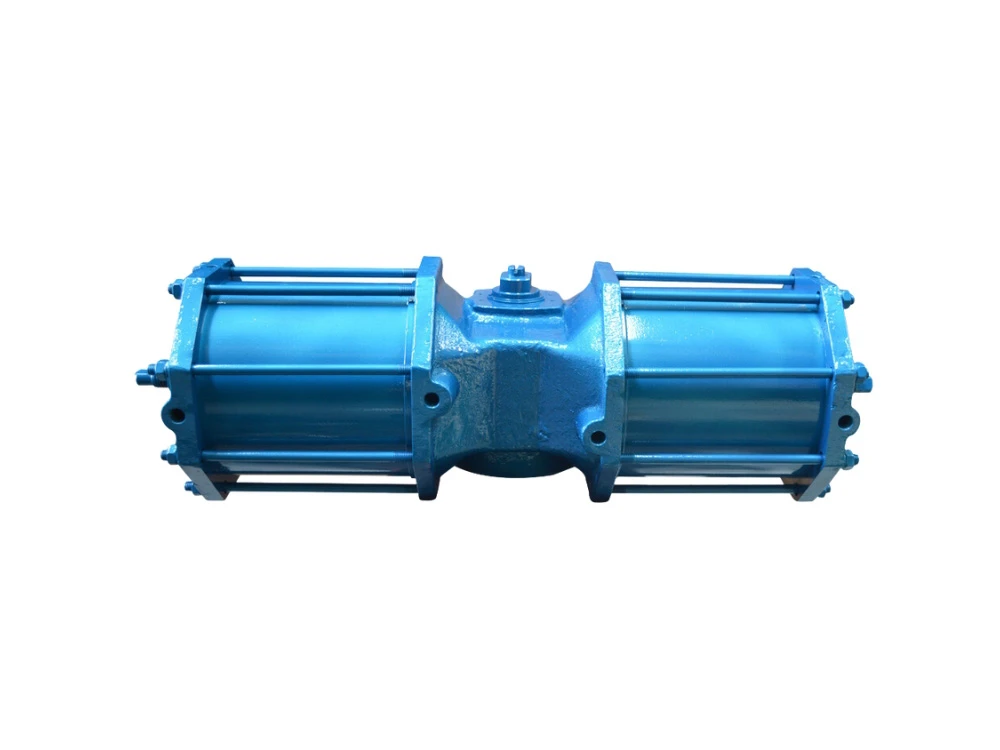
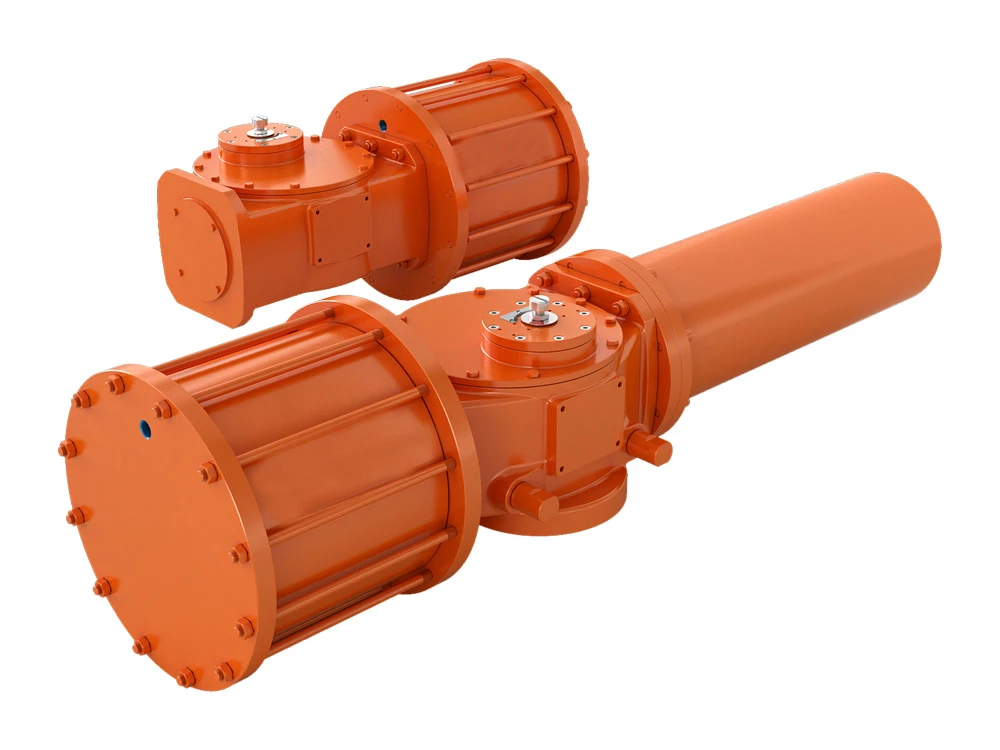
The pneumatic actuator is a valve device with a simple design and compact structure. It is widely used and in high demand. It can be customized according to user needs and equipped with various functional configurations to meet the control requirements in the production process. Of course, if you want to use the pneumatic actuator better, the adjustment of its stroke is very important. So, how to adjust it specifically? Let’s introduce it to you below.
Pneumatic actuator stroke adjustment method:
The first step is to adjust it to zero position
Specifically, give the positioner a 4mADC signal, so that the pressure gauge on the positioner displays the value in the range of 0.004MPa and below, that is, close to zero.
The second step is full-scale adjustment
The operation steps are to give the positioner a 20mADC signal, and then let the pressure gauge on the positioner display the value at 0.2MPa. If the value is not reached, the range knob needs to be adjusted. The specific operation is to rotate the knob counterclockwise to increase the range until it reaches 0.2Mpa. If it exceeds, rotate the knob in the opposite direction.
The third step is to repeat the first and second steps above
Make the stroke of the positioner match the stroke of the valve, and the length of the four strokes of 4mADC, 12mADC, 16mADC, and 20mADC should be average.
Through the above operations, we have completed the adjustment of the stroke of the pneumatic actuator.


