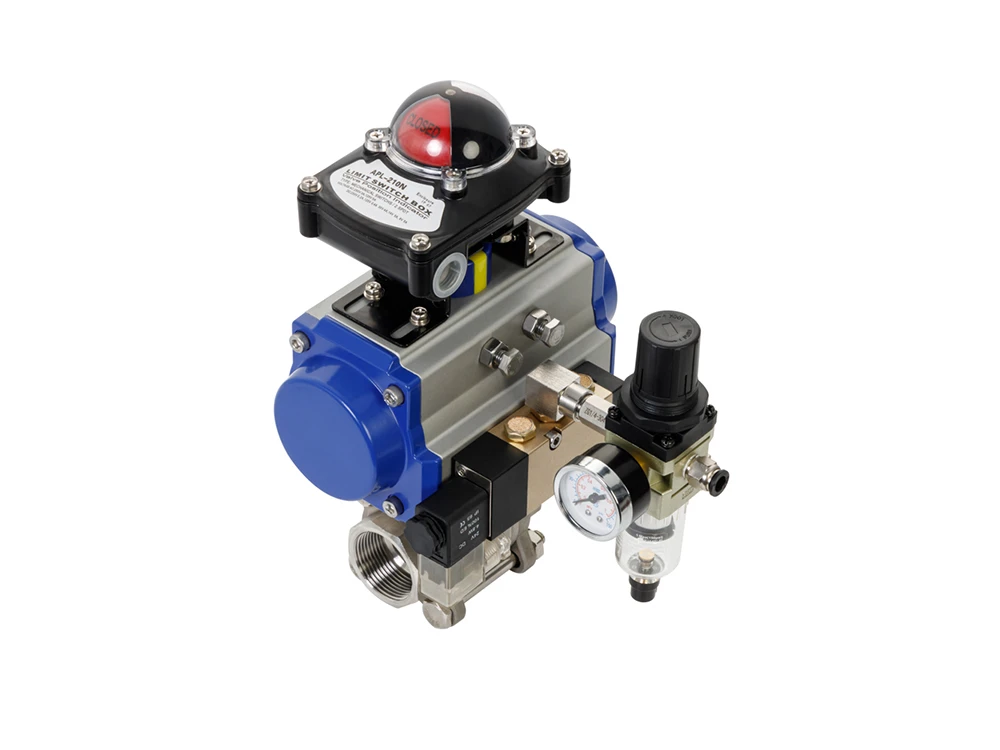
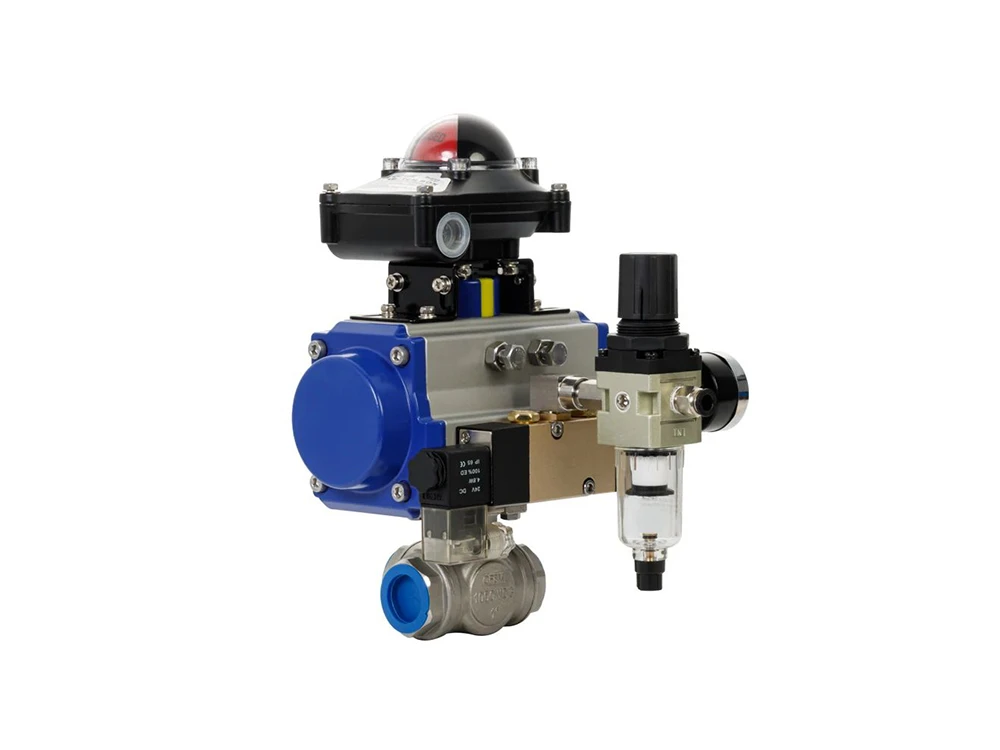
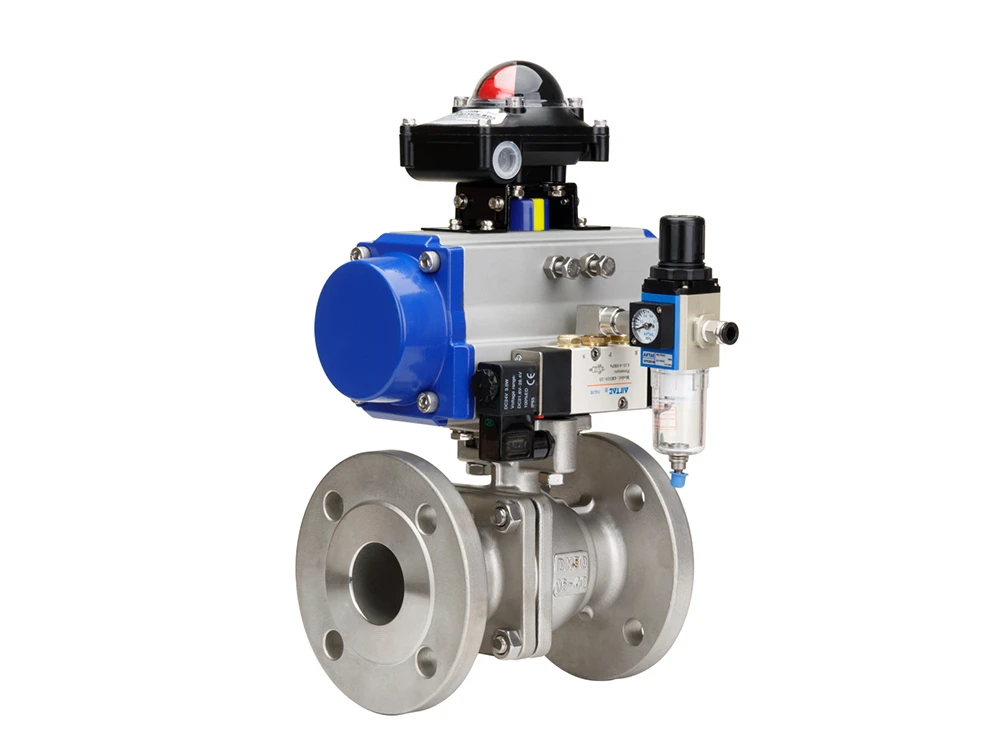
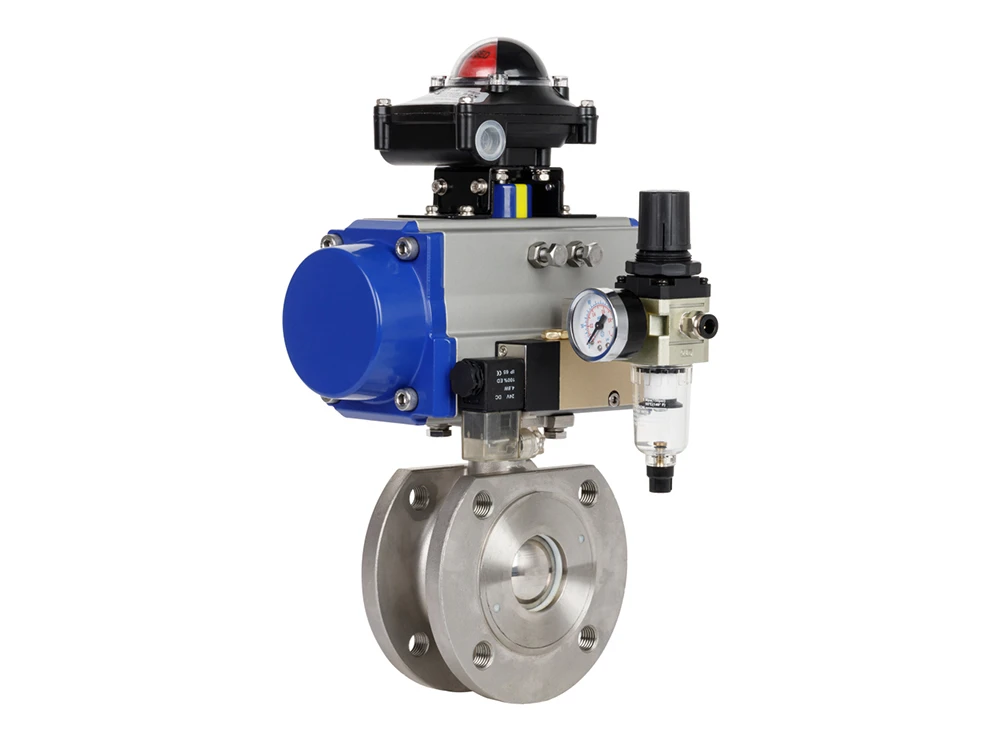
How to install and operate a pneumatic ball valve?
Installation of pneumatic ball valve
(1) Remove the protective covers on both sides of the flange end and flush and clean the valve when fully open.
(2) Before installation, the whole machine should be tested according to the specified signal (electric or gas) (to prevent vibration caused by transportation from affecting the performance), and it can be installed online only after passing the test (wiring according to the electric actuator circuit diagram).
(3) Before preparing to connect to the pipeline, flush and clean the remaining impurities (these substances may damage the valve seat and ball).
(4) During installation, please do not use the actuator part of the valve as a lifting point to avoid damaging the actuator and accessories.
(5) This type of valve should be installed in the horizontal or vertical direction of the pipeline.
(6) The pipeline near the installation point should not be drooping or subjected to external forces. Pipe brackets or supports can be used to eliminate pipeline deviation.
(7) After connecting to the pipeline, cross-tighten the flange connection bolts with the specified torque.
Operation and use of pneumatic ball valve
(1) Before operation, make sure that the pipeline and valve have been flushed.
(2) The operation of the valve is completed by driving the valve stem to rotate according to the input signal of the actuator: when the valve rotates 1/4 circle (90°) in the forward direction, the valve is closed. When the valve rotates 1/4 circle (90°) in the reverse direction, the valve is open.
(3) When the direction indicator arrow of the actuator is parallel to the pipeline, the valve is open; when the indicator arrow is perpendicular to the pipeline, the valve is closed.


